Build a Shot List That Makes Your Web Devs Love You

Video Breakdown

In this video, I’ll guide you through How to Build a Shot List That Makes Your Web Devs Love You, a handy approach that can really transform your e-commerce photography workflow. We’ll talk about why it’s so important to clarify how your images will be used, how to choose the right angles and formats, and how to keep your product photography organized from start to finish. 

Topics Covered

  • Introduction to Shot Lists 0:00
  • Clarify End Use 0:50
  • Image Format Considerations  2:19
  • Identify Your Products & Organizing Your Shot List 3:20
  • Recommended Angles & Shot Types 4:58
  • Preparing for the Shoot & Recommended Resources 6:34
  • Conclusion & How We Can Help 8:22

Helpful Resources

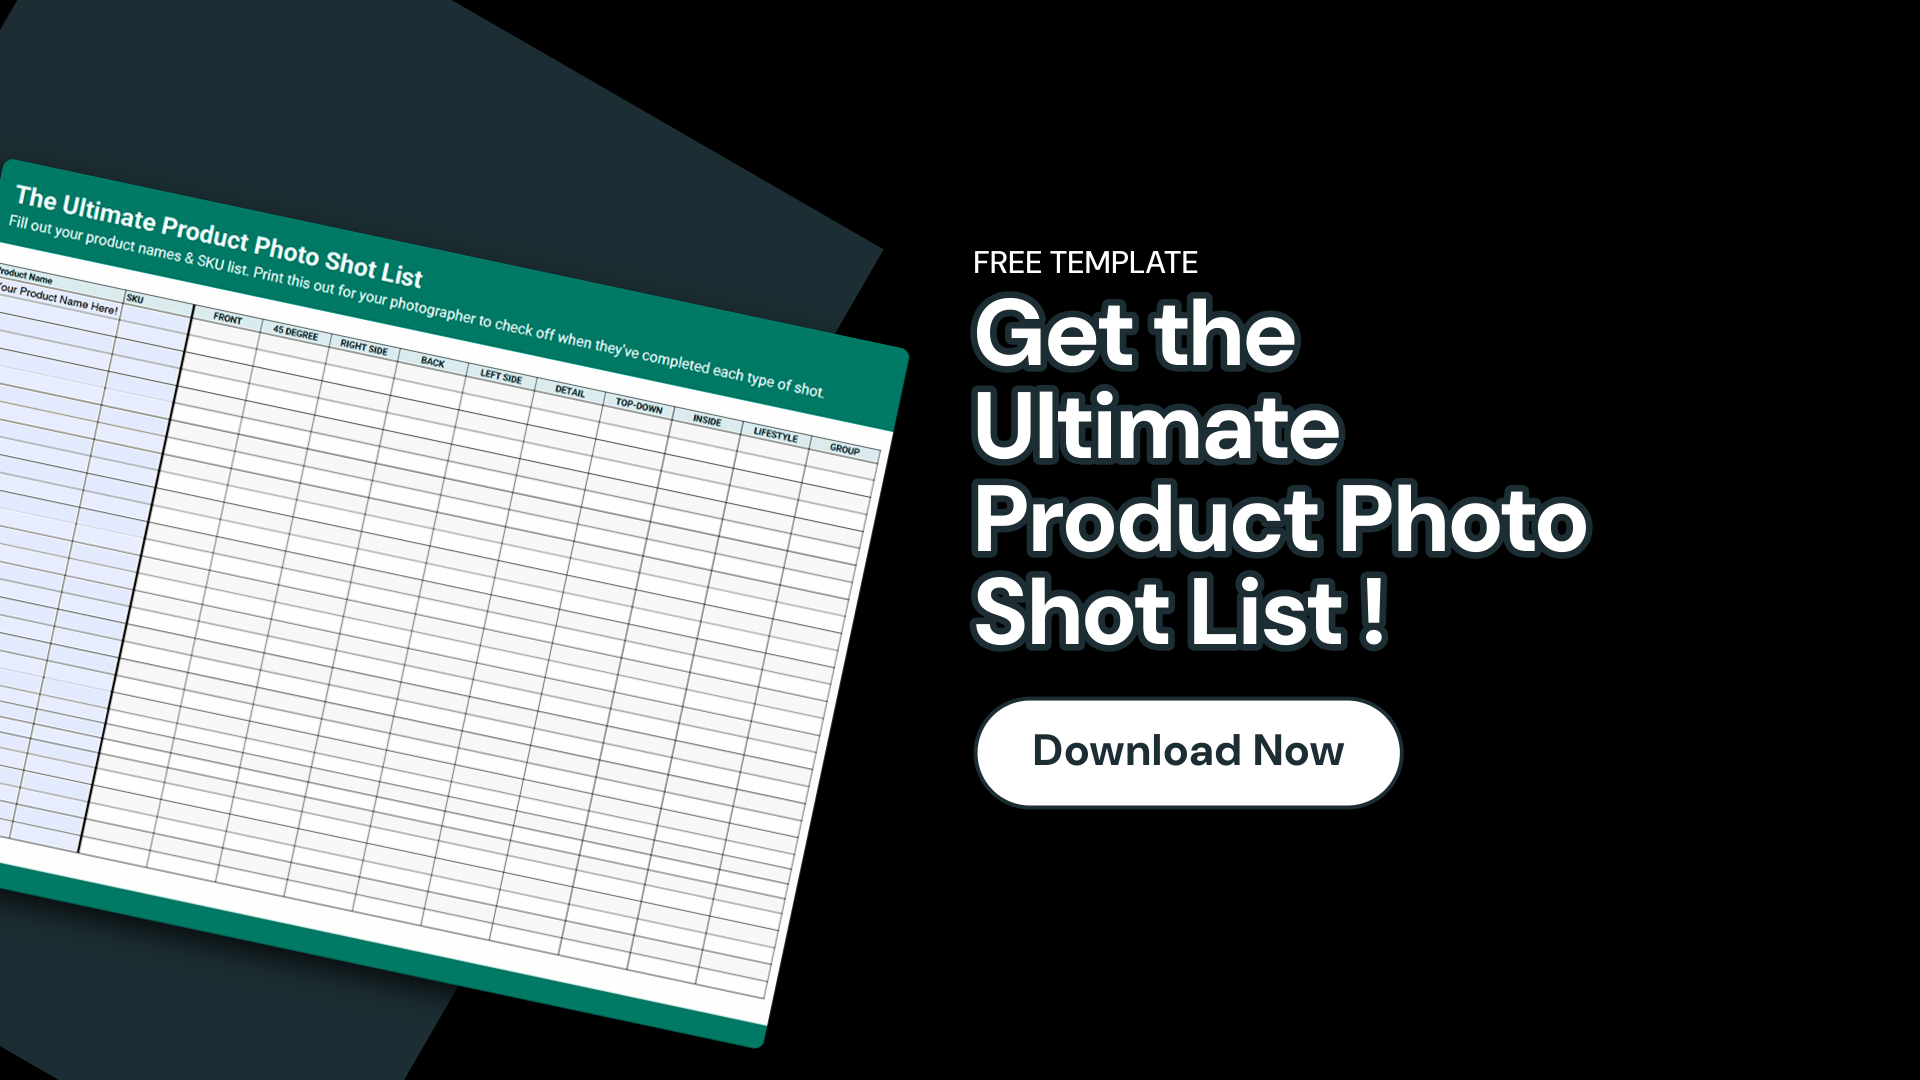
To make things even easier, I’m sharing some helpful resources, including a Google Sheet and a PDF download, so you can create ‘The Ultimate Product Photo Shot List’ and walk into your next photoshoot feeling prepared and confident. I always recommend sending this information to your photographer ahead of time- it’s a simple step that can make the entire shoot run much more smoothly. 

And if you ever have questions about capturing images for your website, don’t hesitate to reach out. We’re here to help you every step of the way!

Quick Tips for Shoot Preparation

Clarify End Use

  • Determine the primary use of the images: e-commerce, social media, Amazon, catalog
  • Specify the type of images needed: white background for e-commerce, lifestyle images for hero banners, category images,  or social media

Define Image Formats 

  • Choose a consistent format for product images (recommended: 1:1 square cropped format for product pages).
  • Ensure there is extra space around the product when shooting for versatility in use.
Image of the front view of a black backpack

List Products to be Shot 

  • Create a comprehensive list of products, including SKUs and color variations
  • Use resources like The Ultimate Product Photo Shot List for easy tracking
  • Organize products by similarity to enhance shooting efficiency
  • Group similar items to minimize lighting and setup adjustment.

Specify Angles and Shots 

  • Send the shot list and any additional resources to the photographer in advance
  • Always communicate clearly with your photographer to avoid misunderstandings
  • Discuss any specific requirements, models, or props needed
  • Ensure that all necessary equipment and backgrounds are available before the shoot
  • Schedule similar product shots together to save time on setup and adjustment
Image of a 45 degree angle view of a black backpack
Image of a 45 degree angle view of the back of a black backpack
Image of the side view of a black backpack
Image of the back of a black backpack

Ready to Prepare for Your Shoot?

Share this post